Notion + GTD
March 02, 2019
The aim of this post is to provide instructions for setting up a "Getting Things Done (GTD)"-style workflow using Notion. It does not cover the workflow itself; it only covers how to setup the necessary views within Notion.
The target audience is people familiar with GTD that want to try a new tool for implementing it.
Some context:
- GTD is a methodology or framework for task organization, management, and execution. For details, refer to the excellent summary found here.
- Notion bills itself as an "all-in-one workspace for your notes, tasks, wikis, and databases". It's available on web, desktop, and mobile. For details, refer to their website found here.
What You'll Get
Before you continue reading, let's go over the end result:
- View of all tasks
- An inbox of tasks not yet assigned to a context or given a status
-
Task lists (or boards) filtered by:
- Status -
Up Next,In Progress,Done. - Context -
@Computer,@Home,#Somedayetc. - Project -
Renovations,Hawaii Trip, etc.
- Status -
- A calendar view of tasks
Requirements
You'll need to create an account and log-in to Notion.
Steps
Database Creation
-
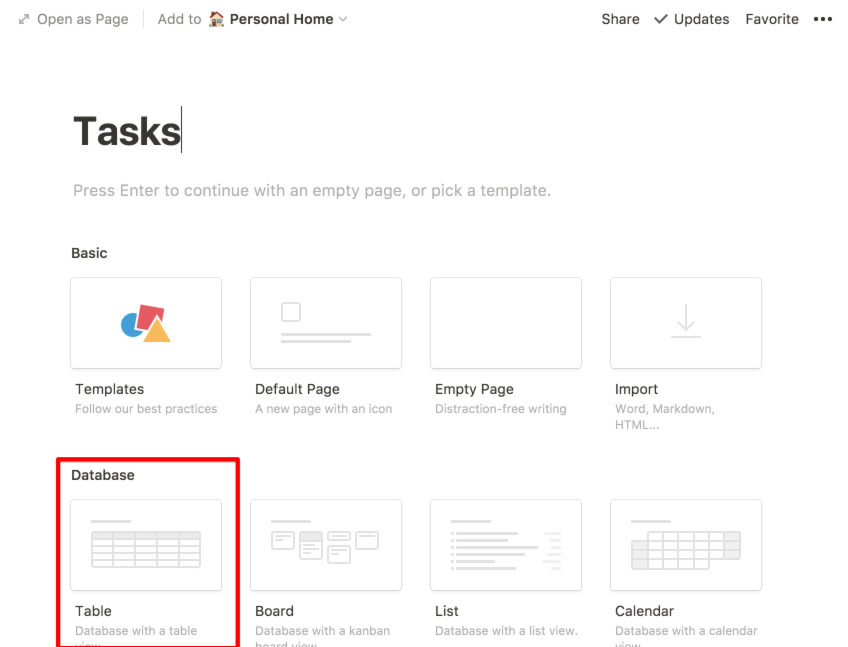
Create a new page:
- Name it
Tasks - Select the
Database > Tableview

- Name it
-
Modify the database properties by clicking
Properties:
- Delete default properties
-
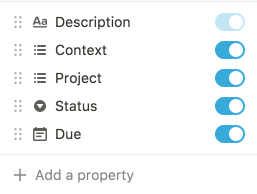
Add the following properties:
- Description -
Texttype - Context -
Multi-Selecttype -
Project -
Multi-Selecttype- Use
Selectif you want tasks to only belong to a single project
- Use
- Status -
Selecttype - Due -
Datetype
- Description -
-
In the table headers, click
Statusto show the drop-down menu. Then, clickConfigure Optionsto add default statuses- Add
Up Next,In Progress, andDone
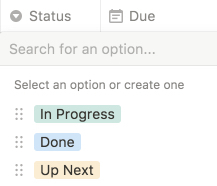
- Add
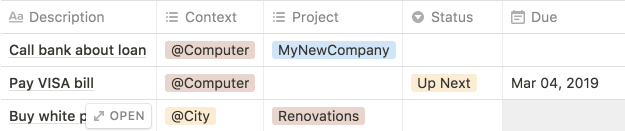
Now that the primary database is created, you can begin adding tasks into the master task list.
Notes:
- For
Context, follow the GTD framework for populating the options. Use contexts such as@homeor@computer.
View Creation
Now, you can create additional views with specific filtering and sorting for inbox, contexts, projects, calendar, and more.
Inbox
To create an inbox view:
-
Click
Add a View(in the top left) -
Name it
Inbox -
Select
Table: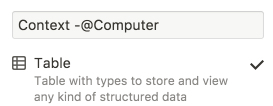
-
Add a filter:
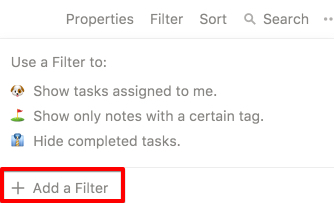
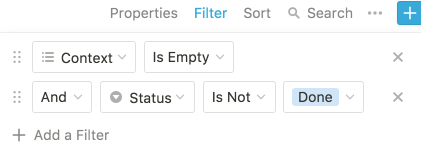
-
Filter only tasks without a context and that are not done:
Contexts
To create a view for a context (e.g. @Computer, #Someday):
-
Click
Add a View -
Name it
Context - <CONTEXT_NAME> -
Select
Table -
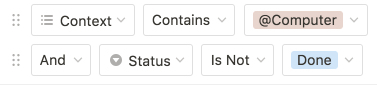
Add a filter for only tasks matching the context that are not done:
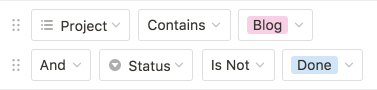
Projects
To create a view for a projects:
-
Click
Add a View -
Name it
Project - <PROJECT_NAME> -
Select
Table -
Add a filter for only tasks matching the project that are not done:
Calendar
To create a calendar view:
-
Click
Add a View -
Name it
Calendar -
Select
Calendar -
Add a filter for tasks that are not done:

Additional Views
To create additional views, follow the same pattern:
- Add a new view of a certain type (try
Boardto for Kanban-style) - Add filters
- Add sorting
Examples:
-
Due Soon
- Filter tasks that are not done
- Sort by due date
Conclusion
That's it! If you have any questions, feel free to e-mail me.